banner

How to Test a Micro Switch? Let's explore it

Column:News    Release time:2025-04-28     Number of readers:43

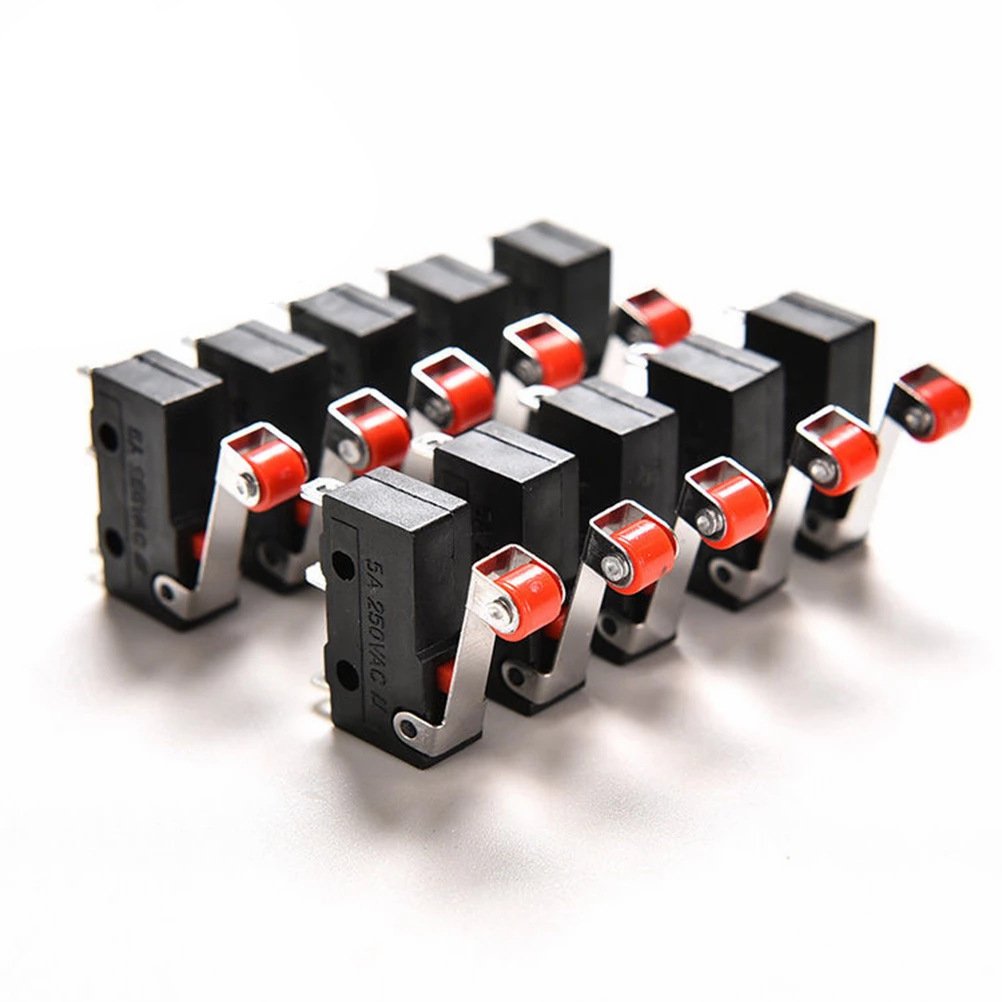
Microswitches play a crucial role in various electronic devices, and their simple yet efficient design ensures the reliable operation of the equipment. These tiny components are usually found in household appliances, machinery and safety devices, serving as crucial control mechanisms that trigger responses when levers are triggered. However, like other components, microswitches will wear out or malfunction over time, leading to performance issues and ultimately affecting the functionality of the entire system. In this blog post, we will explore the basic steps for effectively testing microswitches to ensure their reliable and safe operation. From understanding the importance of regular testing of microswitches, we will guide you through the necessary equipment, testing procedures, and safety precautions that need to be kept in mind. Whether you are an experienced technician or a DIY enthusiast, this comprehensive guide will enable you to confidently diagnose and troubleshoot microswitch faults. Let's start!

To test a microswitch, it is necessary to first understand the basic knowledge of microswitches, , as well as the working principle of microswitches. All of these have been introduced in previous blogs. Click to view. Only when you understand microswitches can you better diagnose problems and ensure that they operate as expected. In the following chapters, we will delve into the significance of testing microswitches, the required equipment, and the step-by-step process for conducting comprehensive tests.


The Importance of Testing a Micro Switch


Micro switches are integral components in a myriad of devices, and their failure can lead to significant operational issues. Testing these switches regularly is not only a best practice but also an essential part of maintenance in any system they are part of. Understanding the importance of testing a micro switch can help prevent unexpected failures and ensure that devices function smoothly.


Why Regular Testing is Crucial


 Regular testing of microswitches is  pivotal for several reasons 


  Precautionary conservation Like any mechanical element, micro switches can wear out over time. Regular testing helps identify implicit issues before they escalate into  expensive repairs or  outfit failures. This  visionary approach can save both time and  plutocrat in the long run. 
 
 Safety In  numerous  operations, micro switches are involved in safety mechanisms,  similar as  exigency stops in  ministry or door cinches in appliances. A conking micro switch can compromise safety, leading to accidents or injuries. By regularly testing these switches, you  insure that safety features are  performing  rightly. 

System Reliability: For industrial and commercial applications, reliability is paramount. A faulty micro switch can disrupt production lines, cause equipment downtime, and affect overall efficiency. Testing helps maintain the reliability of systems, ensuring they operate without interruption.

Quality Assurance: In manufacturing environments, quality control is essential. Regular testing of micro switches ensures that the products being produced meet the necessary standards for performance and functionality. This can enhance  client satisfaction and reduce returns or complaints. 

Compliance with Regulations: In some industries, compliance with safety regulations and standards is mandatory. Regularly testing micro switches can help ensure that your equipment meets these requirements, avoiding potential legal liabilities and penalties.


Potential Issues with a Faulty Micro Switch


A malfunctioning micro switch can lead to a variety of issues, including:

Inconsistent Operation: A micro switch that doesn’t activate or deactivate properly can cause devices to operate erratically, leading to frustration for users and potential damage to the equipment.

Electrical Failures: Faulty switches can create short circuits or other electrical issues, potentially damaging other components in the system and leading to more extensive repairs.

Increased Wear on Components: If a micro switch fails to operate as intended, it can cause increased wear on other components, leading to a cascade of failures within the system.

Operational Downtime: In industrial settings, a faulty micro switch can halt production, leading to costly downtime. Quick identification and resolution of the issue can minimize these disruptions.

Safety Hazards: As mentioned earlier, the failure of safety-critical micro switches can pose significant risks. For example, if a safety interlock switch fails, it may allow machinery to operate in an unsafe condition, risking the safety of operators and equipment.

In summary, testing micro switches is vital for maintaining functionality, ensuring safety, and enhancing reliability across various applications. Regular checks can preemptively identify problems, allowing for timely interventions that can save time, money, and even lives. In the following sections, we will discuss the equipment needed for testing, the detailed process of conducting tests, and safety precautions to keep in mind during this critical maintenance task.


Equipment Needed to Test a Micro Switch


 Testing a micro switch effectively requires a  numerous essential tools and outfit.Having the right gear not only simplifies the testing process but also enhances  delicacy,  icing  dependable results. Below, we will outline the equipment you need, along with a brief description of each tool’s purpose and importance in the testing procedure.


Understanding the Different Types of Testing Equipment


  1. Multimeter:

    • Description:  Description A multimeter is a  protean instrument that measures voltage, current, and resistance. It is essential for checking the electrical properties of micro switches.
    • Importance: Using a multimeter allows you to determine whether a micro switch is functioning correctly by measuring the continuity of the switch and the voltage levels when activated.
  2. Test Leads:

    • Description: These are the wires that connect the multimeter to the micro switch terminals.
    • Importance: Quality test leads ensure accurate readings and minimize the risk of short circuits during testing. They should be compatible with your multimeter and the micro switch.
  3. Screwdriver Set:

    • Description: A set of screwdrivers is necessary for opening devices or panels to access the micro switch.
    • Importance: Different devices may use various types of screws (Phillips, flathead, etc.), so a comprehensive screwdriver set is essential for removing and replacing micro switches.
  4. Power Source:

    • Description: Depending on the micro switch, you may need a power source to test its operation. This could be a battery, an AC power supply, or the device itself if you are testing it in situ.
    • Importance: A reliable power source is necessary to activate the micro switch and observe its functioning in real-time.
  5. Wire Strippers:

    • Description: Wire strippers are used for preparing the wires connected to the micro switch, allowing you to access clean conductors for testing.
    • Importance: Properly stripped wires ensure good electrical contact and accurate measurements when connecting the multimeter.
  6. Safety Equipment:

    • Description: Personal protective equipment (PPE) such as gloves, safety glasses, and insulated tools.
    • Importance: Safety outfit is critical to cover yourself from electrical hazards while testing. It ensures that you're shielded from implicit shocks or injuries.


How to Choose the Right Equipment


Choosing the right outfit for testing micro switches is pivotal for effective troubleshooting. Then are some tips to consider:

  • Quality Matters: Invest in high- quality tools, especially for multimeters and test leads. Reliable tools give accurate readings and enhance safety.

  • Compatibility: Ensure that all equipment is compatible with the types of micro switches you are testing. For illustration, check the voltage conditions and specifications of your multimeter to insure it can handle the anticipated ranges.

  • Ease of Use: Select tools that are stoner-friendly, especially if you're new to testing micro switches. Look for multimeters with clear displays and intuitive controls.

  • Portability: If you need to test switches in various locations, consider portable equipment that is easy to transport.

  • Read Reviews: Before purchasing any equipment, read reviews or seek recommendations from professionals who frequently test micro switches. Their insights can guide you to the best tools for your needs.

By equipping yourself with the right tools, you will be better prepared to effectively test micro switches and diagnose any issues. In the following sections, we will provide a detailed step-by-step process for testing a micro switch, ensuring you can confidently assess its functionality.


The Process of Testing a Micro Switch


Testing a micro switch is a straightforward process that involves several key steps. By following this guide, you can effectively determine whether a micro switch is functioning properly or if it requires replacement. This section will provide a detailed step-by-step process for testing a micro switch, along with tips for diagnosing common issues that may arise during testing.


Step-by-Step Guide to Testing a Micro Switch


Step 1: Ensure Safety First

  • Disconnect Power: Before starting any tests, ensure that the device containing the micro switch is powered off and unplugged. If the switch is part of an electrical circuit, disconnect the circuit breaker to avoid accidental activation.
  • Wear Protective Gear: Put on safety glasses and insulated gloves to protect yourself from any potential electrical hazards.

Step 2: Access the Micro Switch

  • Remove Covers or Panels: Use your screwdriver set to open the device and access the micro switch. Take care to keep track of any screws or components you remove, as you will need them for reassembly.

Step 3: Inspect the Micro Switch Visually

  • Physical Condition: Examine the micro switch for any visible signs of damage, similar as cracks, burn marks, or erosion on the outstations. A visual inspection can often reveal issues that may require further investigation.
  • Actuator Movement: Check that the actuator moves freely and is not obstructed.  Insure that it is n't stuck in one position or damaged. 

Step 4: Set Up Your Multimeter

  • Select the Function: Turn on your multimeter and set it to the continuity (or resistance) mode. This mode allows you to check if the switch is closed (allowing current to pass) or open (interrupting current).
  • Prepare Test Leads:  fit the test leads into the applicable anchorages on the multimeter, generally the COM( common) and VΩmA anchorages.

Step 5: Test the Micro Switch

  • Connect Test Leads: Attach one test lead to the common terminal of the micro switch and the other lead to the normally open (NO) terminal.
  •  Spark the Switch: Manually press the selector to  spark the micro switch. You should hear a click, indicating that the switch has changed states.
  • Check Continuity: Observe the multimeter reading:
    • Continuity Present: If the multimeter beeps or shows a low resistance reading, the micro switch is functioning properly and is closing the circuit.
    • No Continuity: If the multimeter does not beep or shows infinite resistance, the micro switch is likely faulty and needs to be replaced.

Step 6: Repeat for Normally Closed (NC) Terminal

  • Test NC Terminal: To further confirm the functionality of the micro switch, repeat the test using the normally closed (NC) terminal. Connect one lead to the common terminal and the other lead to the NC outstation.This time, the multimeter should show continuity without pressing the actuator and should change to no continuity when activated.

Step 7: Document Findings

  • Record Results: Take notes on the readings and the condition of the micro switch. If the switch is functioning correctly, document the test results for future reference. If the switch is faulty, note the need for replacement.

Step 8: Reassemble the Device

  • Replace the Micro Switch (if necessary): If the micro switch is defective, carefully disconnect it from the circuit and replace it with a new one that matches the specifications.
  • Reattach Covers or Panels: Once the testing or replacement is complete, reassemble the device, ensuring all screws and components are securely fastened.


Common Issues and How to Resolve Them


  1. Inconsistent Readings:

    • Cause: Loose connections or faulty test leads.
    • Resolution: Check the connections and ensure test leads are securely attached. If necessary, replace the test leads.
  2. No Response from Actuator:

    • Cause: Mechanical failure or blockage.
    • Resolution: Inspect the actuator for obstructions and ensure it moves freely. If the actuator is damaged, consider replacing the micro switch.
  3. Switch Sticking:

    • Cause: Accumulation of dirt or debris.
    • Resolution: Clean the micro switch and its surrounding area to ensure smooth operation.
  4. Electrical Issues:

    • Cause: Damaged wiring or connections.
    • Resolution: Check if there are any signs of wear or damage to the wires. Repair or replace any faulty connections.

By following these steps and troubleshooting tips, you can effectively test a micro switch and ensure its proper functionality. In the next section, we will discuss important safety precautions to keep in mind while testing micro switches to ensure a safe working environment.


Safety Precautions While Testing a Micro Switch


Testing a micro switch involves working with electrical components, which can pose various safety risks if proper precautions are not taken. Adhering to safety guidelines is crucial for protecting oneself and others from potential dangers. This section outlines crucial safety precautions to follow while testing micro switches.


Protective Equipment


  1. Safety Glasses:

    • Purpose: To protect your eyes from potential electrical sparks, debris, or any components that may fly out during testing or disassembly.
    • Recommendation: Ensure that the safety glasses are appropriate and comply with safety regulations.
  2. Insulated Gloves:

    • Purpose: To provide protection against electrical shocks when handling live circuits or components.
    • Recommendation: Use gloves rated for electrical work, ensuring they are free from holes or wear.
  3. Non-Conductive Tools:

    • Purpose: Using insulated hand tools can help prevent accidental electrical contact.
    • Recommendation: Choose tools that have rubber or plastic insulation on their handles to minimize shock risk.


Electrical Safety Tips


  1. Disconnect Power Before Testing:

    • Always ensure that the power source is disconnected before accessing or testing a micro switch. This includes unplugging devices or turning off circuit breakers to avoid accidental activation.
  2. Use a Multimeter Properly:

    • Check Settings: Always double-check that your multimeter is set to the correct function (continuity or voltage) before connecting it to a circuit to prevent damage to the multimeter or the switch.
    • Avoid Overloading: Ensure that the voltage and current ratings of the multimeter are compatible with the micro switch you are testing to avoid damaging the equipment.
  3. Be Aware of Capacitors:

    • If the micro switch is part of a circuit that contains capacitors, be cautious. Capacitors can store electrical energy and give you an electric shock even after a power outage. Before handling, there should be sufficient time for the capacitor to discharge.
  4. Avoid Working in Wet Conditions:

    • Ensure that the workspace is dry and free of moisture. Water and electricity do n't  integrate, and  working out in wet conditions can  boost the  threat of electric shock. 


What to Do in Case of an Accident


  1. Know Emergency Procedures:

    • Familiarize yourself with emergency procedures for your workplace or home, including the location of circuit breakers, first aid kits, and emergency contact numbers.
  2. If Shocked:

    •   Still, do n't touch the person directly, If you or someone differently receives an electrical shock.  rather, turn off the  authority source  incontinently, and  also call for medical assistance.However, check their breathing and  palpitation, and  achieve CPR if necessary until help arrives, If the person is unconscious. 
  3. If a Fire Occurs:

    • IIn the event of an electrical conflagration, do n't exercise water to extinguish it. Instead, use a Class C fire extinguisher designed for electrical fires or smother the flames with a non-flammable material.
  4. Report Accidents:

    • Any accidents or near misses should be reported to a supervisor or relevant authority. This helps ensure that safety measures can be reviewed and improved upon to prevent future incidents.

By taking these safety precautions seriously, you can create a safer environment while testing micro switches. Ensuring your safety and the safety of those around you is paramount, and following these guidelines will help mitigate risks associated with electrical testing. In conclusion, testing micro switches is a critical maintenance task that, when done carefully and correctly, can enhance the reliability and safety of the devices that rely on them.If you don't want to spend time operating and testing, you must find a supplier that can produce high-quality microswitches. Coincidentally, we are a factory specializing in the production of high-quality microswitches. If you need any assistance, please feel free to contact us!