Introduction to Microswitches
Microswitches, also known as snap-action switches, are a type of electromechanical switch that operates with minimal force. They are designed to make or break an electrical circuit quickly and reliably with a very small amount of movement. This unique characteristic makes microswitches an ideal choice for applications requiring precise control, quick response times, and high reliability.
History and Development
Microswitches were first introduced in the 1930s by the Honeywell company, originally designed for use in safety devices and automation systems. Over the decades, their design and functionality have evolved, leading to widespread adoption in various industries. Today, microswitches are ubiquitous in applications ranging from consumer electronics to industrial automation, automotive systems, and home appliances.
How Microswitches Work
At the core of a microswitch is a simple mechanism that consists of a movable actuator, a spring, and a set of contacts. When the actuator is pressed, it compresses the spring, allowing the contacts to snap together (closed) or snap apart (opened). This snap-action mechanism provides a rapid response, ensuring that the switch can toggle states with very little movement—often less than a millimeter.
The speed and reliability of microswitches make them suitable for applications that require precise actuation, such as:
- Control Panels: Used to activate or deactivate machinery and equipment.
- Safety Devices: Employed in devices like safety interlocks to prevent unsafe operation.
- Home Appliances: Found in microwaves, washing machines, and refrigerators to monitor door positions and operational states.
Key Features of Microswitches
-
Compact Size: Microswitches are typically small, making them easy to integrate into various devices without requiring significant space.
-
High Durability: Many microswitches are rated for millions of operations, ensuring longevity and reliability in demanding applications.
-
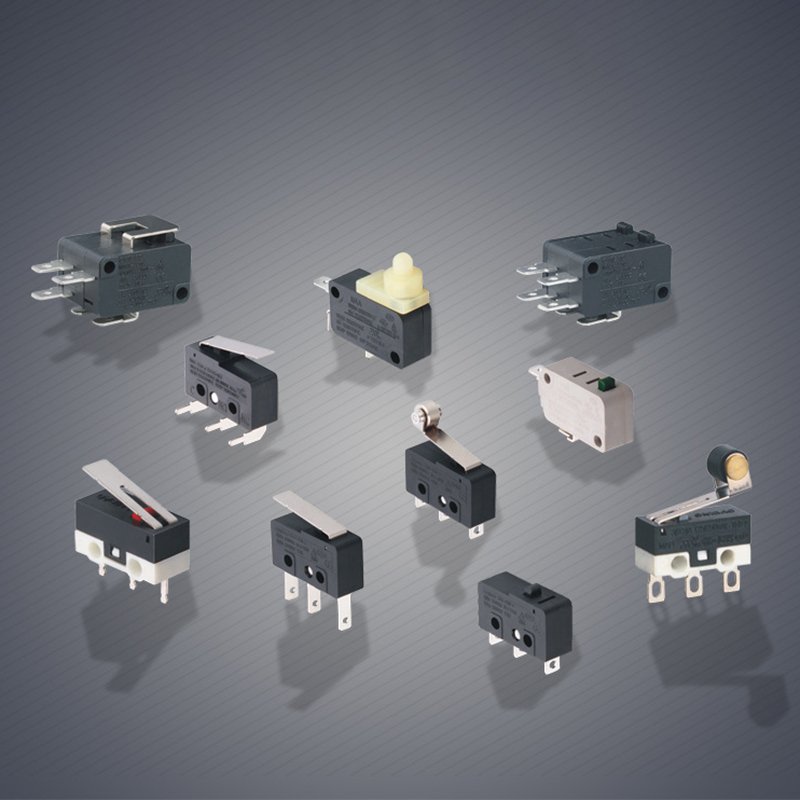
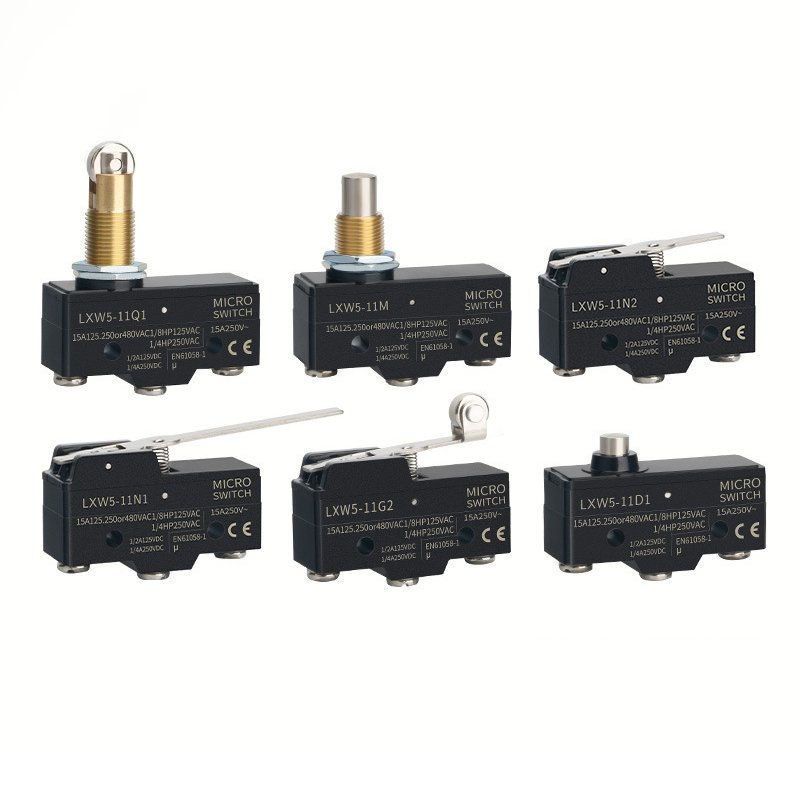
Versatile Actuation Methods: Microswitches can be activated through various means, including mechanical levers, rollers, or even pneumatic actuators, allowing for flexibility in design.
-
Multiple Contact Configurations: They can be designed with single pole, double throw (SPDT) configurations or other arrangements to suit specific circuit requirements.
-
Wide Range of Operating Conditions: Microswitches can operate in diverse environmental conditions, including extreme temperatures, humidity, and exposure to dust or oil.
Applications of Microswitches
Microswitches are used in a multitude of applications, including but not limited to:
- Industrial Automation: In conveyor systems, robotic arms, and machinery where precise control is necessary.
- Consumer Electronics: In devices like keyboards, mice, and remote controls to enhance user interaction.
- Automotive Systems: For door switches, seat sensors, and safety mechanisms.
- Home Appliances: In dishwashers, ovens, and refrigerators to ensure safe and efficient operations.
Conclusion
Understanding microswitches is essential for anyone working in fields involving electronics, automation, or mechanical systems. Their unique operating principles, durability, and versatility make them a crucial component in a wide array of applications. In the following sections, we will explore the different types of microswitches available, how to select the right one for your needs, installation processes, and maintenance best practices to ensure optimal performance.
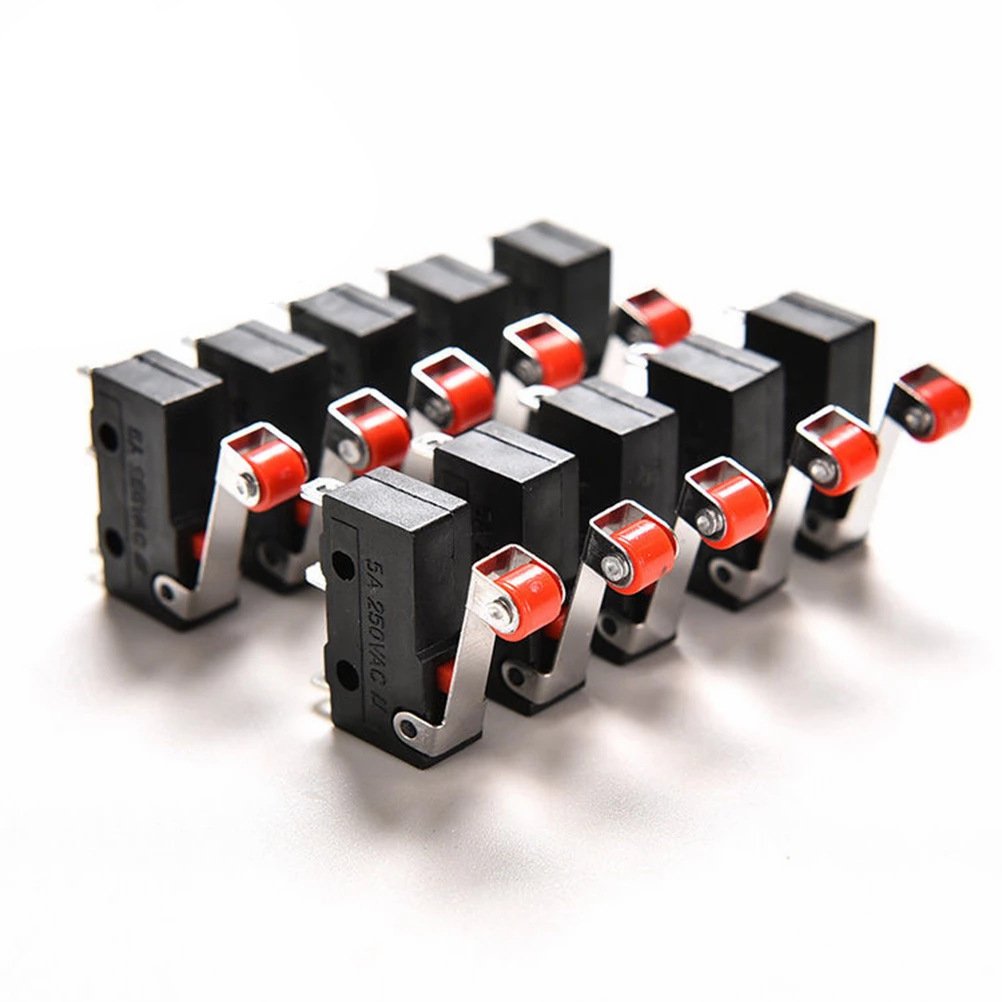
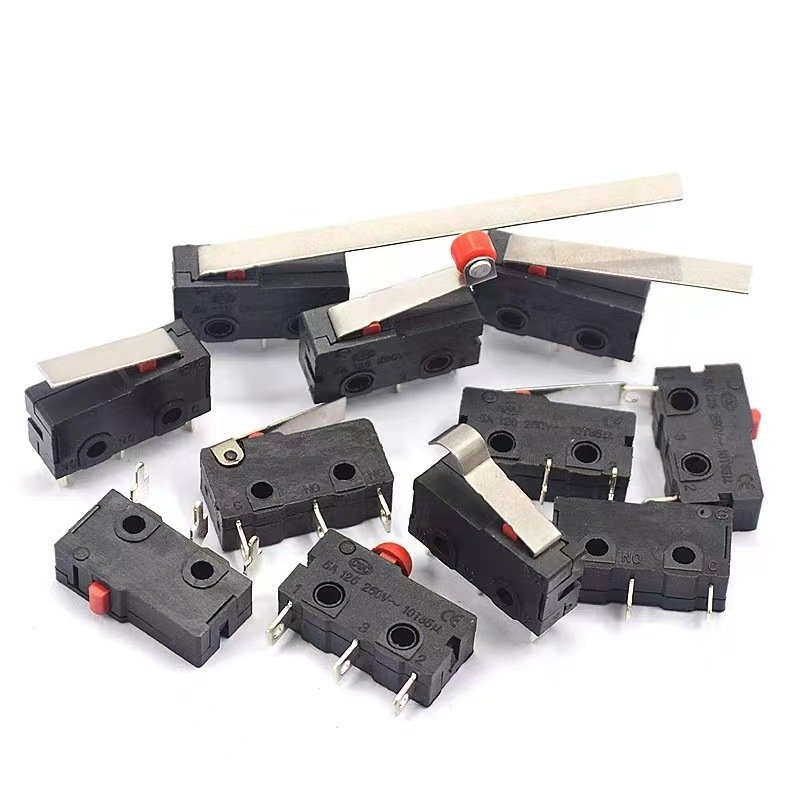
Types of Microswitches
Microswitches come in various types, each designed to meet specific operational needs and requirements. Understanding the different types of microswitches is crucial for selecting the right switch for your application. Here, we will explore the most common types of microswitches, including their features, functionalities, and typical uses.
Basic Switch
A basic microswitch, often referred to simply as a "microswitch," is the most common type found in various applications. It operates on a simple principle of mechanical actuation, where a small movement of the actuator results in a change of state for the electrical contacts.
Key Features:
- Actuation Mechanism: Typically features a lever or button that, when pressed, changes the switch's state.
- Contact Configuration: Usually comes in SPDT (Single Pole Double Throw) or DPDT (Double Pole Double Throw) configurations.
- Operating Force: Requires minimal force to operate, making it ideal for sensitive applications.
Applications:
- Used in home appliances like ovens and microwaves for door switches.
- Found in control panels for machinery and automation systems.
Limit Switch
A limit switch is a type of microswitch specifically designed to detect the presence or absence of an object or to monitor the position of a moving part. It is often used to control machinery and automate processes by providing feedback on mechanical movement.
Key Features:
- Actuation Types: Can be activated by mechanical movement through levers, rollers, or plungers.
- Durable Design: Built to withstand harsh conditions, making them suitable for industrial environments.
- Position Detection: Capable of providing precise location feedback for moving components.
Applications:
- Commonly used in conveyor systems to detect the position of items.
- Employed in industrial machinery to ensure safety by preventing over-travel of moving parts.
Pressure Switch
Pressure switches are specialized microswitches that activate or deactivate circuits based on the pressure of a fluid (liquid or gas). These switches are critical for systems that require pressure monitoring and control.
Key Features:
- Sensitivity Settings: Can be adjusted to respond to specific pressure ranges.
- Mechanical or Electronic Actuation: Some models use mechanical mechanisms, while others incorporate electronic sensors.
- Fail-Safe Design: Often designed to fail in a safe manner to prevent damage to systems.
Applications:
- Used in HVAC systems to monitor air pressure.
- Commonly found in automotive applications to monitor fuel or oil pressure.
Temperature Switch
Temperature switches, or thermal microswitches, are designed to operate based on temperature changes. These switches are essential for applications requiring temperature regulation or monitoring.
Key Features:
- Thermal Sensitivity: Can be configured to activate or deactivate at specific temperature thresholds.
- Variety of Designs: Available in different configurations, including bimetallic elements and thermistors.
- Wide Operating Range: Can function in extreme temperature conditions.
Applications:
- Common in appliances like refrigerators and ovens to control heating elements.
- Used in industrial applications to monitor equipment temperature and prevent overheating.
Comparison of Microswitch Types
| Microswitch Type |
Key Features |
Common Applications |
| Basic Switch |
Simple mechanical actuation, SPDT/DPDT |
Home appliances, control panels |
| Limit Switch |
Position detection, durable design |
Conveyor systems, industrial machinery |
| Pressure Switch |
Pressure-based activation, adjustable |
HVAC systems, automotive applications |
| Temperature Switch |
Temperature-based activation, wide range |
Refrigerators, ovens, equipment monitoring |
Conclusion
Each type of microswitch serves distinct purposes and offers unique features tailored to specific applications. When selecting a microswitch, it is essential to consider the operational requirements, environmental conditions, and the type of actuation needed for your project. In the next section, we will delve into the criteria for choosing the right microswitch to ensure optimal performance in your applications.
How to Choose the Right Microswitch
Selecting the right microswitch for your application is a critical step that can significantly affect the performance and reliability of your system. With a plethora of options available, understanding the key factors that govern your choice is essential. This section will guide you through the process of selecting a microswitch tailored to your specific needs by evaluating application requirements, specifications, reliability, and cost considerations.
Understanding Your Application Needs
Before diving into the technical specifications, it’s important to assess the specific needs of your application. Consider the following questions:
-
What is the application?
- Identify the primary function of the microswitch. Is it for a safety feature, position detection, or temperature control? Understanding the role of the switch will help narrow down your options.
-
What are the environmental conditions?
- Determine the operating environment for the microswitch. Will it be exposed to extreme temperatures, humidity, dust, or chemicals? Choose a switch that is rated for the environmental conditions it will face to ensure durability and reliability.
-
What is the required actuation method?
- Consider how the microswitch will be activated. Will it be via a lever, button, or pressure? Different types of actuators may be better suited for specific applications.
-
What is the expected life cycle?
- Assess the expected number of operations the microswitch will undergo. If your application requires frequent switching, you may need a microswitch designed for higher durability.
Microswitch Specifications and Ratings
Once you have a clear understanding of your application, focus on the technical specifications and ratings of the microswitch. Key considerations include:
-
Electrical Ratings:
- Check the voltage and current rating of the microswitch. Ensure that it can handle the electrical load required for your application without risk of failure or overheating.
-
Contact Configuration:
- Determine the appropriate contact configuration (e.g., SPDT, DPDT). The configuration affects how the microswitch integrates with your circuit and its functionality.
-
Operating Force:
- Evaluate the amount of force required to actuate the switch. This is especially important for applications that require sensitive or precise operation.
-
Mechanical Life:
- Look for the mechanical life rating, which indicates the number of cycles the switch can perform before failure. A higher rating is preferable for applications with frequent actuation.
-
Temperature Range:
- Ensure that the microswitch can operate within the temperature range of your application. Some switches are designed for extreme heat or cold, while others are more suited for standard conditions.
-
IP Rating:
- The Ingress Protection (IP) rating indicates the level of protection against dust and moisture. Choose a microswitch with an appropriate IP rating based on your application environment.
Reliability and Durability Considerations
Reliability is paramount when choosing a microswitch, especially in critical applications. Consider the following factors related to reliability and durability:
-
Manufacturer Reputation:
- Select microswitches from reputable manufacturers known for quality and reliability, such as Honeywell, Omron, or Schneider Electric. Research customer reviews and industry feedback to gauge their performance.
-
Certification Standards:
- Look for switches that comply with relevant industry standards, such as UL, CE, or RoHS. Compliance with these standards often indicates a certain level of quality and reliability.
-
Testing and Quality Control:
- Inquire about the manufacturer's quality control processes and testing procedures. Reliable manufacturers will have rigorous testing protocols to ensure their products meet performance expectations.
-
Warranty and Support:
- Review the warranty and support offered by the manufacturer. A good warranty can provide peace of mind, while effective customer support can help address any issues that arise during installation or operation.
Cost Analysis
While it’s essential to find a microswitch that meets your technical requirements, budget constraints also play a significant role in decision-making. Consider the following aspects of cost:
-
Initial Cost vs. Long-Term Value:
- Assess the trade-off between initial purchase price and long-term performance. Sometimes, investing in a higher-quality microswitch can save money in the long run by reducing maintenance and replacement costs.
-
Bulk Purchasing:
- If your application requires multiple microswitches, inquire about bulk purchasing options, which may offer cost savings.
-
Total Cost of Ownership:
- Factor in potential costs related to installation, maintenance, and eventual replacement. A lower-cost microswitch may end up being more expensive if it fails prematurely.
Conclusion
Choosing the right microswitch involves a careful evaluation of your application’s specific needs, technical specifications, reliability, and cost considerations. By understanding these factors and asking the right questions, you can confidently select a microswitch that will enhance the performance and reliability of your system. In the next section, we will outline the process for installing and using a microswitch, ensuring you can integrate it seamlessly into your application.
How to Install and Use a Microswitch
Installing and using a microswitch correctly is crucial for ensuring its optimal performance and longevity. This section will provide a comprehensive guide on the installation process, safety measures, and post-installation testing. Additionally, we will address common troubleshooting issues that may arise during operation.
Pre-Installation Safety Measures
Before beginning the installation process, it is essential to adhere to safety protocols to prevent accidents and ensure a successful setup. Consider the following safety measures:
-
Power Off:
- Always turn off the power supply to the circuit where the microswitch will be installed. This prevents electrical shocks and protects both the technician and the equipment.
-
Personal Protective Equipment (PPE):
- Wear appropriate PPE, such as safety goggles and gloves, to protect against accidental contact with electrical components or sharp edges.
-
Verify Compatibility:
- Ensure that the microswitch is compatible with your application’s voltage, current, and environmental conditions. Consult the datasheet for specifications.
-
Use Proper Tools:
- Gather all necessary tools for installation, including screwdrivers, pliers, wire strippers, and multimeters. Using the right tools minimizes the risk of damage and ensures a professional installation.
Installation Process
Once safety measures are in place, follow these steps to install the microswitch:
-
Identify Mounting Location:
- Choose an appropriate location for the microswitch that allows for easy access and meets the operational requirements. Consider factors such as actuator positioning and environmental exposure.
-
Prepare the Mounting Surface:
- If necessary, use screws or brackets to secure a mounting plate to the surface. Ensure the surface is clean and free from debris to facilitate a secure installation.
-
Connect the Wiring:
- Strip the ends of the wires to be connected to the microswitch. Use a wire stripper to create clean, even strips.
- Connect the wires to the microswitch terminals according to the wiring diagram provided in the product documentation. Ensure that you are connecting the wires to the correct terminals (common, normally open, normally closed).
- Use solder or terminal blocks as needed for secure connections. If you are using screw terminals, tighten the screws gently to avoid damaging the wire.
-
Mount the Microswitch:
- Secure the microswitch to the prepped mounting surface using screws or other fastening methods. Ensure that the actuator mechanism is free to move and not obstructed by adjacent components.
-
Adjust Actuator Position:
- If the microswitch has adjustable actuator settings, make the necessary adjustments to ensure it operates correctly with the surrounding components. This adjustment can include the position of levers, rollers, or plungers.
-
Double-Check Connections:
- Before restoring power, double-check all wire connections and ensure that the microswitch is securely mounted.
Post-Installation Testing
After installation, it's crucial to test the microswitch to confirm that it operates as intended. Follow these steps for effective testing:
-
Restore Power:
- Turn the power supply back on and observe the circuit for any unusual signs, such as sparks, smoke, or unusual sounds. If any issues arise, turn off the power immediately and troubleshoot the installation.
-
Functionality Test:
- Manually actuate the microswitch by pressing the lever or button. Observe the electrical circuit to ensure that it switches as expected (either opening or closing).
- Use a multimeter to check continuity across the switch terminals when the switch is actuated. This confirms that the switch is functioning correctly.
-
Operational Testing:
- If applicable, run the system through its operating cycle to verify that the microswitch responds appropriately to normal conditions. Monitor for any intermittent operation or failure to actuate.
-
Adjustments:
- If the microswitch does not function as expected, revisit the actuator position or wiring connections, making necessary adjustments.
Troubleshooting Common Problems
Despite careful installation, you may encounter issues during the operation of your microswitch. Here are some common problems and their solutions:
-
Switch Does Not Activate:
- Check the wiring connections for loose or broken wires. Ensure that the actuator is not obstructed and can move freely.
- Verify that the microswitch is rated for the voltage and current of the application; using an incompatible switch can lead to failure.
-
Intermittent Operation:
- Inspect the actuator mechanism for wear or damage. A worn lever or roller can lead to inconsistent actuation.
- Ensure that environmental factors, such as dirt or moisture, are not interfering with the switch operation.
-
Switch Stuck in One Position:
- If the switch is physically stuck, inspect the actuator for mechanical binding. Remove any debris or obstructions.
- If the switch is damaged internally, it may need to be replaced.
-
Electrical Issues:
- Use a multimeter to test for continuity and voltage at the switch terminals. This can help diagnose issues related to the electrical circuit rather than the microswitch itself.
Conclusion
Installing and using a microswitch requires careful attention to detail to ensure safe and effective operation. By following proper installation procedures, conducting thorough post-installation testing, and knowing how to troubleshoot common issues, you can maximize the performance and lifespan of your microswitch. In the next section, we will explore best practices for maintaining your microswitch to ensure its continued reliability and function in your applications.
Maintaining Your Microswitch
Proper maintenance of your microswitch is essential to ensure its reliability, longevity, and optimal performance. Regular care can help prevent premature failure and minimize the need for replacements. This section provides a comprehensive guide on how to maintain your microswitch, including inspection routines, cleaning procedures, and signs that indicate when to replace the switch.
Regular Inspection
Conducting routine inspections is vital for identifying potential issues before they escalate into significant problems. Here are key points to consider during inspections:
-
Visual Checks:
- Regularly inspect the microswitch for any visible signs of wear, damage, or corrosion. Look for cracks in the housing, frayed wires, or signs of overheating.
-
Actuator Functionality:
- Manually actuate the switch to ensure that the actuator moves freely and returns to its original position without obstruction. A stiff or stuck actuator can indicate mechanical wear or misalignment.
-
Electrical Connections:
- Examine the wiring and connections for any loose or corroded terminals. Ensure that the connectors are secure and that there are no exposed wires that could lead to short circuits.
-
Operational Testing:
- Periodically perform functionality tests to confirm that the microswitch operates as expected under normal conditions. This includes checking for consistent actuation and proper electrical output.
Cleaning and Care
Keeping the microswitch clean is essential, especially in environments where dust, moisture, or contaminants may accumulate. Follow these cleaning guidelines:
-
Dust and Debris Removal:
- Use a soft, dry brush or a can of compressed air to gently remove dust and debris from the microswitch and surrounding area. Avoid using excessive force, which could damage the switch.
-
Cleaning Solutions:
- If the microswitch is exposed to grease, oil, or other contaminants, use a mild cleaning solution designed for electronics. Dampen a lint-free cloth with the solution and gently wipe the switch's exterior. Avoid getting any liquid inside the switch housing.
-
Drying:
- Ensure that the microswitch is completely dry before restoring power. Moisture can cause electrical short circuits and damage the internal components.
-
Avoiding Harsh Chemicals:
- Do not use abrasive cleaners or solvents that could damage the plastic or metal components of the microswitch. Stick to gentle cleaning methods to preserve its integrity.
When to Replace Your Microswitch
Even with proper maintenance, there will come a time when a microswitch needs to be replaced. Here are signs that indicate it may be time for a replacement:
-
Frequent Failures:
- If the microswitch frequently fails or requires resetting, it may indicate that the switch has reached the end of its operational life. Replacing it can prevent operational downtime.
-
Inconsistent Operation:
- If you notice that the microswitch operates intermittently or fails to activate reliably, it may be worn out or damaged internally. Replacement is recommended to ensure consistent performance.
-
Physical Damage:
- Any visible physical damage, such as cracks or deformation in the switch housing, may compromise its functionality. Damaged switches should be replaced immediately to avoid safety hazards.
-
Corrosion:
- If the switch shows signs of corrosion on the terminals or housing, it may be unable to provide a reliable connection. Corrosion can also cause electrical failures and should prompt a replacement.
-
Age:
- Consider the age of the microswitch, especially if it has been in continuous operation for an extended period. If the switch is nearing or exceeding its rated mechanical life, it’s prudent to replace it as a precaution.
Conclusion
Maintaining your microswitch through regular inspections, cleaning, and timely replacements is essential for ensuring its longevity and reliable operation. By following best practices in maintenance, you can minimize the risk of unexpected failures and enhance the overall performance of your systems. With this knowledge, you are now well-equipped to understand, select, install, and maintain microswitches effectively, ensuring they serve your applications reliably for years to come.